
Today, I’m going to talk about my process to make your custom wool socks.
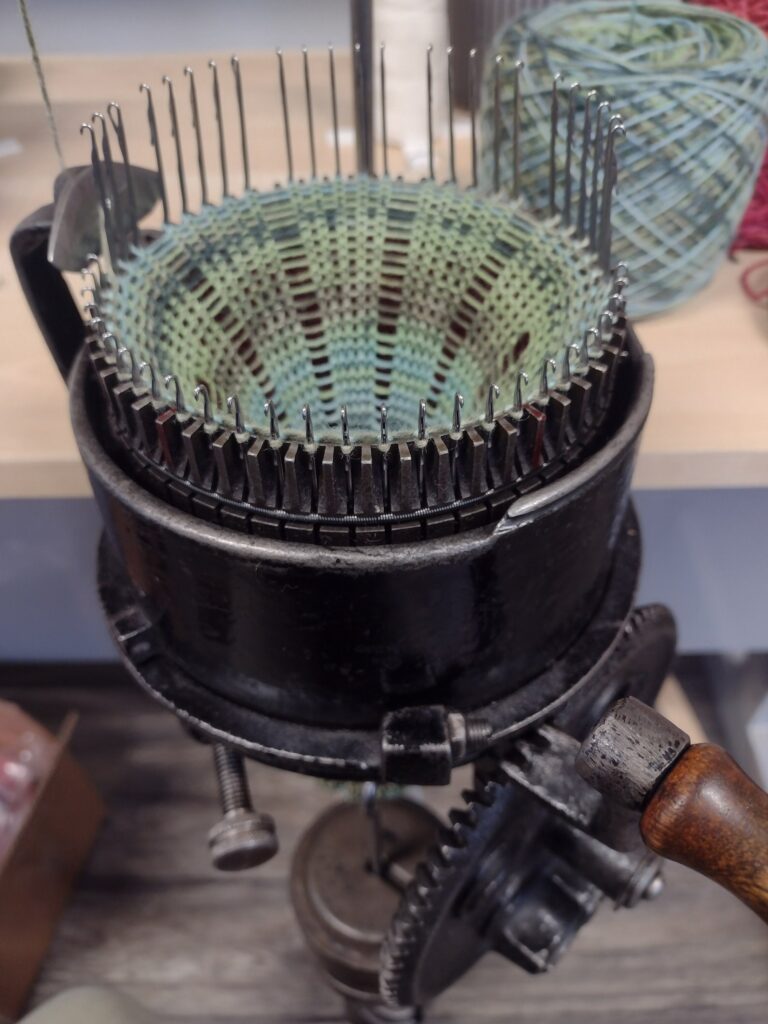
I use an antique circular sock machine to knit my socks which make it realistic to craft custom wool socks. Knitting a pair of basic socks by hand can take 10-20 hours, so no fairly paid artisan can do this with needles!
Sock knitting machines are a very old technology, but still a lot more recent than knitting. Flat knitting machines were invented around 1590, but it took until 1816 to have a machine that could knit tubes.
They started to get more widespread during the World Wars: in the US and Canada, they were giving away machines to home knitters in exchange for a number of completed socks for soldiers.
Even if I have a machine to help me, there are still plenty of steps to get a completed pair of knitted wool socks.
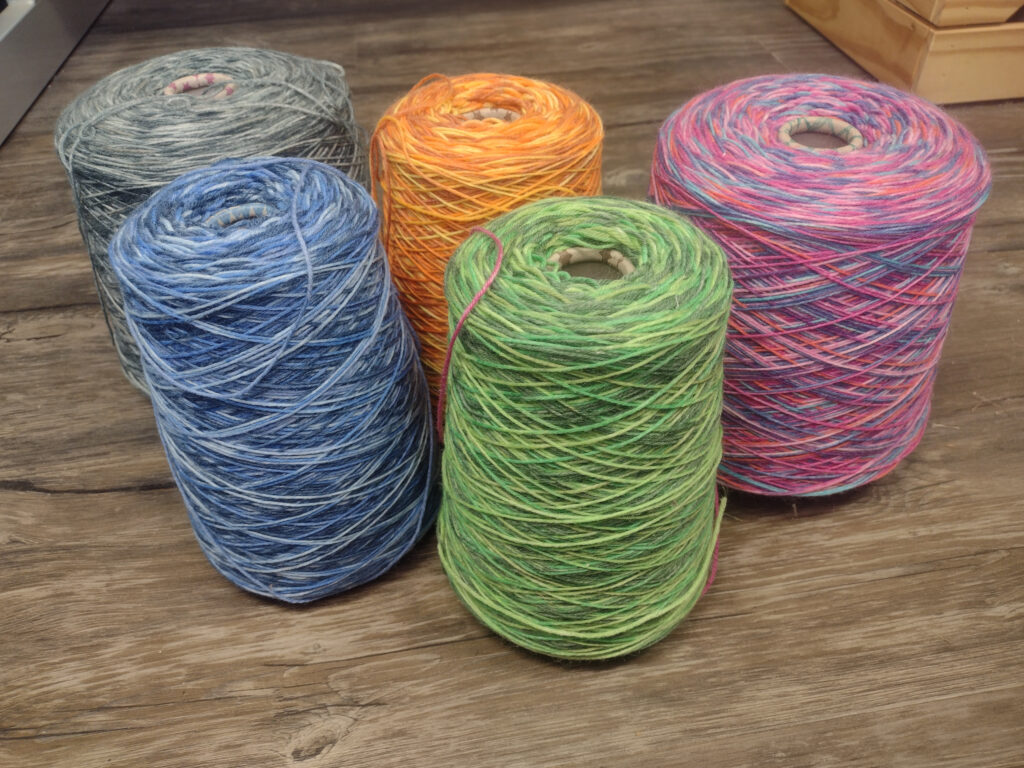
Sourcing and preparing the yarn
To get started, I need yarn! Not all yarn works on the machine: it needs to be wool yarn and not acrylic since acrylic creates too much static and interferes with the needles. I use yarn that’s specifically made for socks that does have a bit of extra nylon for extra strength and durability.
I also need to prepare the yarn to use it with the machine. It can pull yarn from a cone or a properly wound ball of yarn, but the tension needs to be pretty loose so the needles don’t catch.
So, if I have store-brought balls of yarn or skeins, I need to first turn them into center-pull balls with my ball winder.
Fortunately, the stock I use for production is already on large cones, so the preparation step only a worry if I’m testing a new yarn or making a custom order from a customer’s yarn.
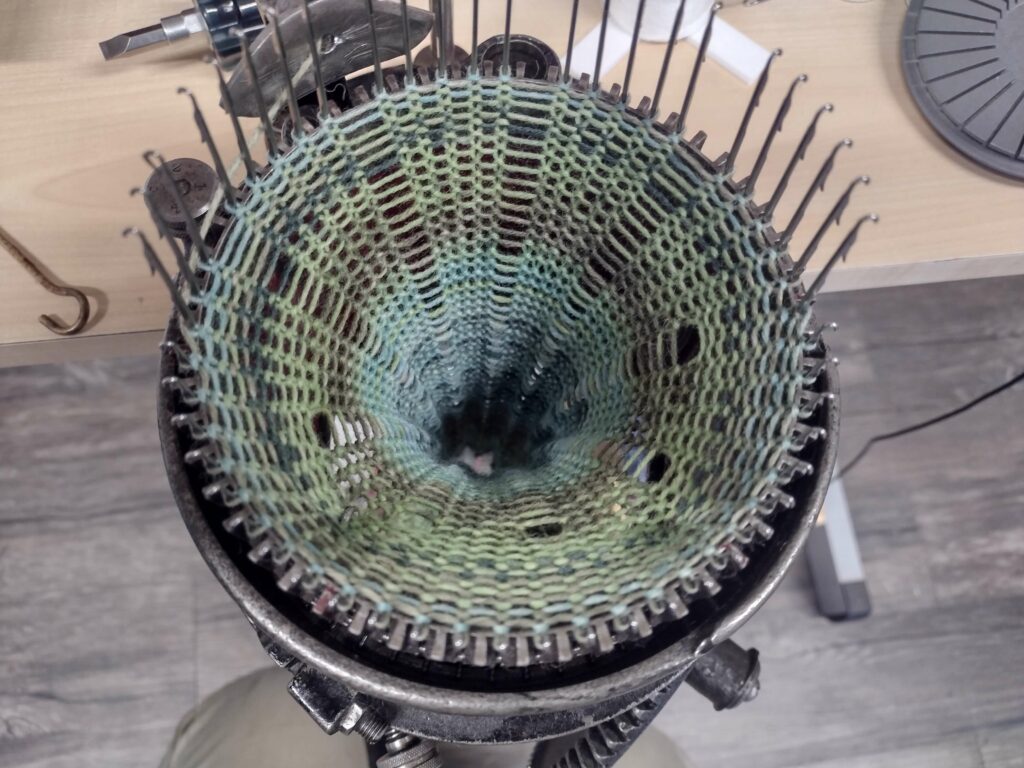
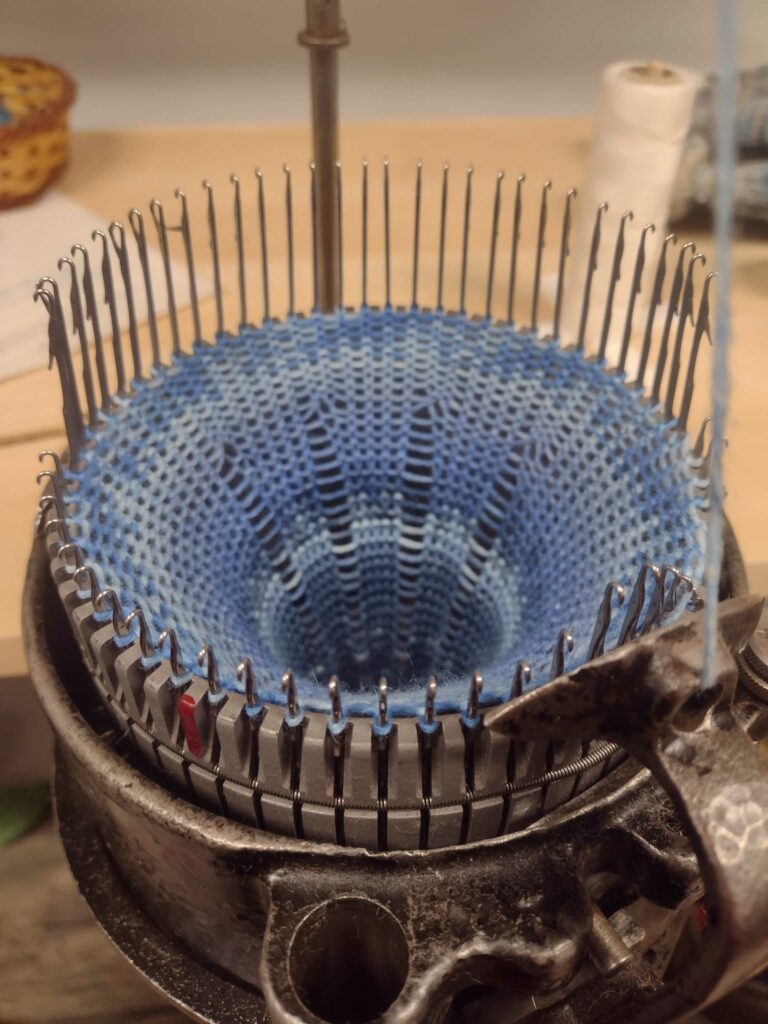
Choose the right cylinder and set it up
The number of needles, and the number of stitches for the width of the sock depends on the cylinder in the machine.
Depending on the foot size, I may need change the cylinder which holds the needles, which also means removing and putting back all the needles. Since that’s a bit of extra work, I try to batch socks of the same width together.
There is also a tension adjustment on the machine so I can get the perfect gauge for the yarn I’m using.
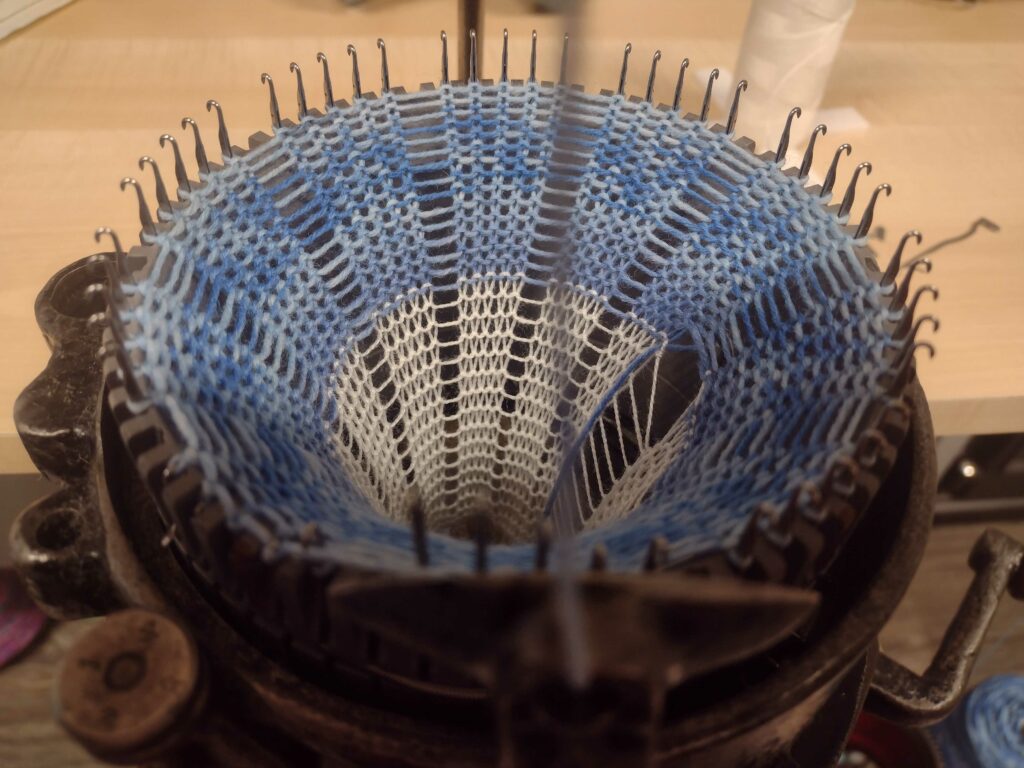
Cast on the yarn
When starting fresh with a newly set cylinder, I can’t just go and knit since the stitches needs to hang somewhere. That’s where a cast on bonnet is useful: it already has all the stitches ready and I just put it on each needle to have a starting point.
I’ll then crank the machine to knit a few rows over it in a scrap yarn to make sure everything is set up properly. I can cut away this scrap yarn in the end to recover my bonnet.
I also need to put in some weight on the bonnet so the stitches stay nice and firm for the machine to knit them.
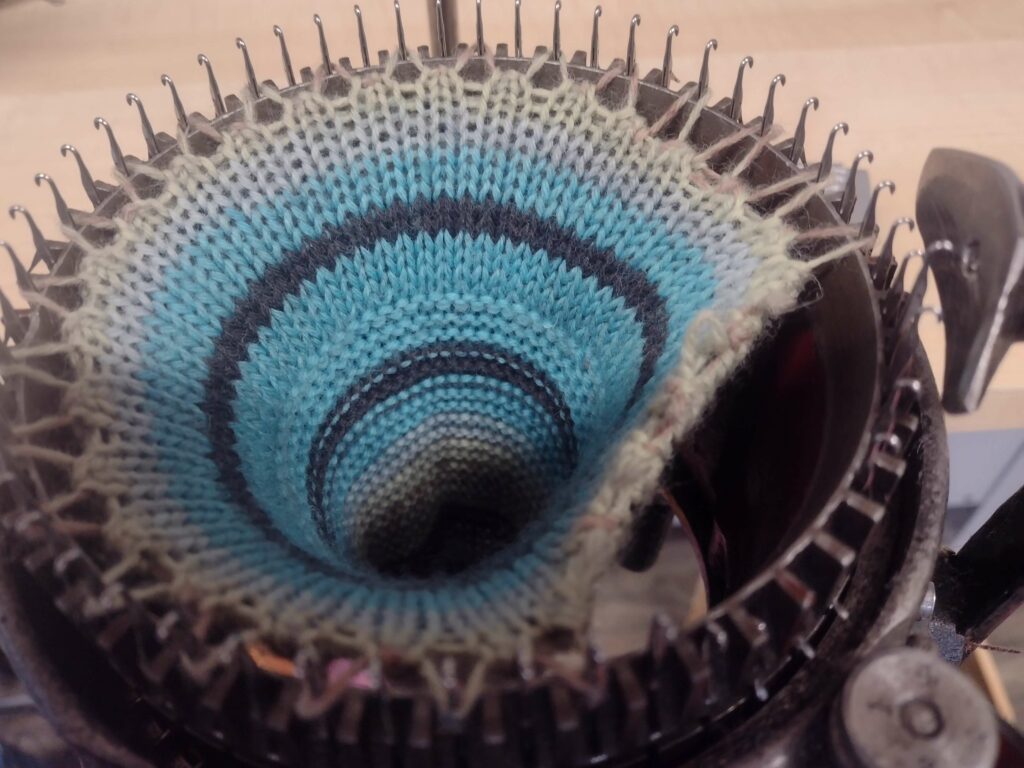
Knitting your custom wool socks
Once everything is ready, I switch to the real yarn and crank away on the cuff and ankle depending on the type of sock and ankle size I’m aiming for.
I’ll then need to do a few manual steps to turn the heel, since it doesn’t need all the needles. I need to raise the back needles to get them out of the way, and do some back and forth while raising and lowering needles to create the heel. The heel will also need extra weight so the stitches stay firm.
I can then resume normal cranking with the foot, taking extra care to knit the right number of rows for your foot size, and finish up with the toe using the same technique as the heel.
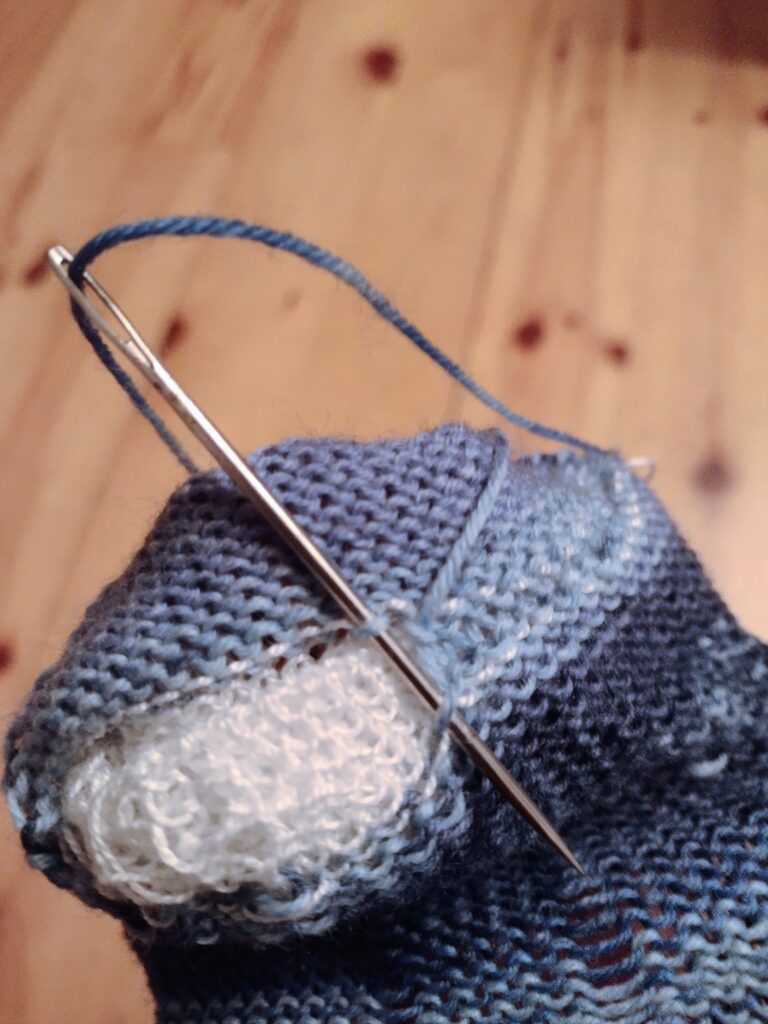
Casting off and finishing
Once again, I need to add in some scrap wool to complete the sock: there are live stitches that I need to close by hand, and the scrap yarn helps holding it all together.
At this point, if I’m still missing a sock in the pair or need more socks of the same width I’ll keep going until I have at least a pair so I don’t have to do extra casting on.
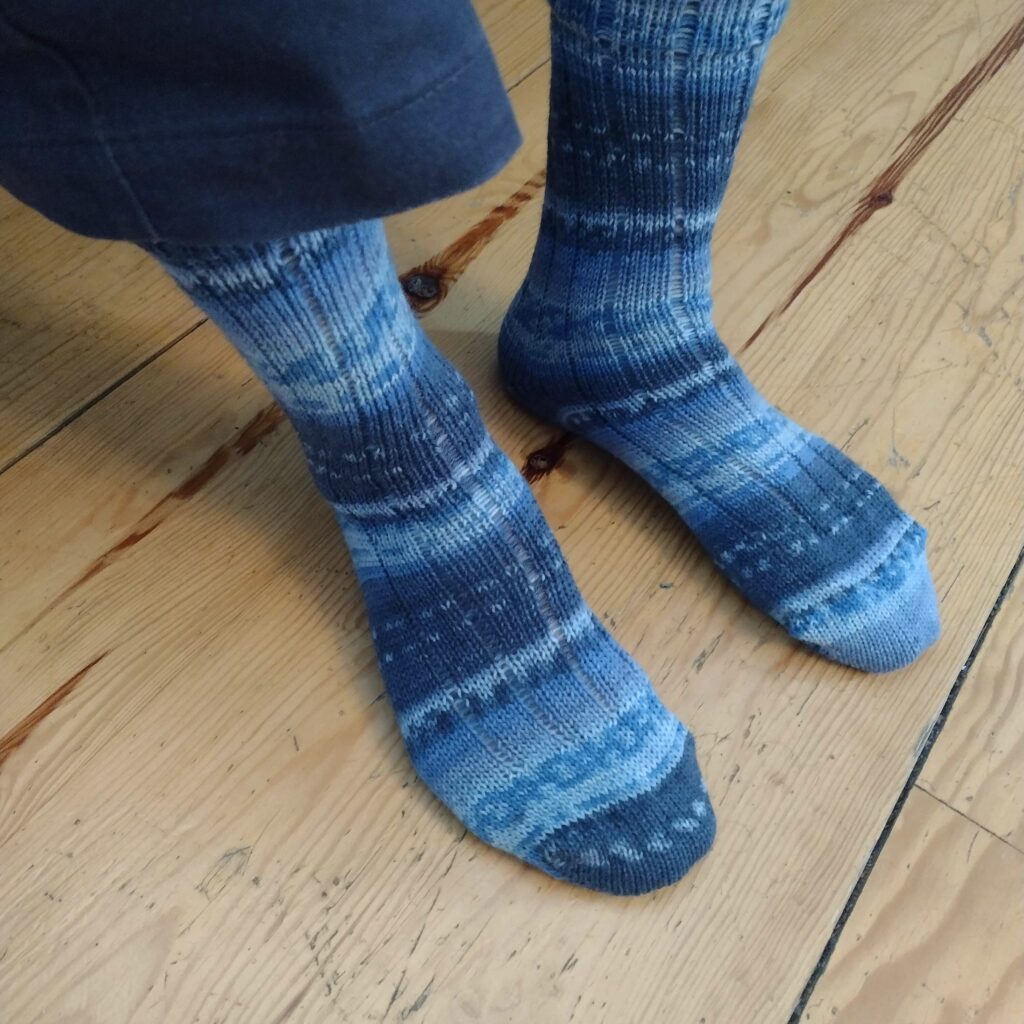
Completed socks
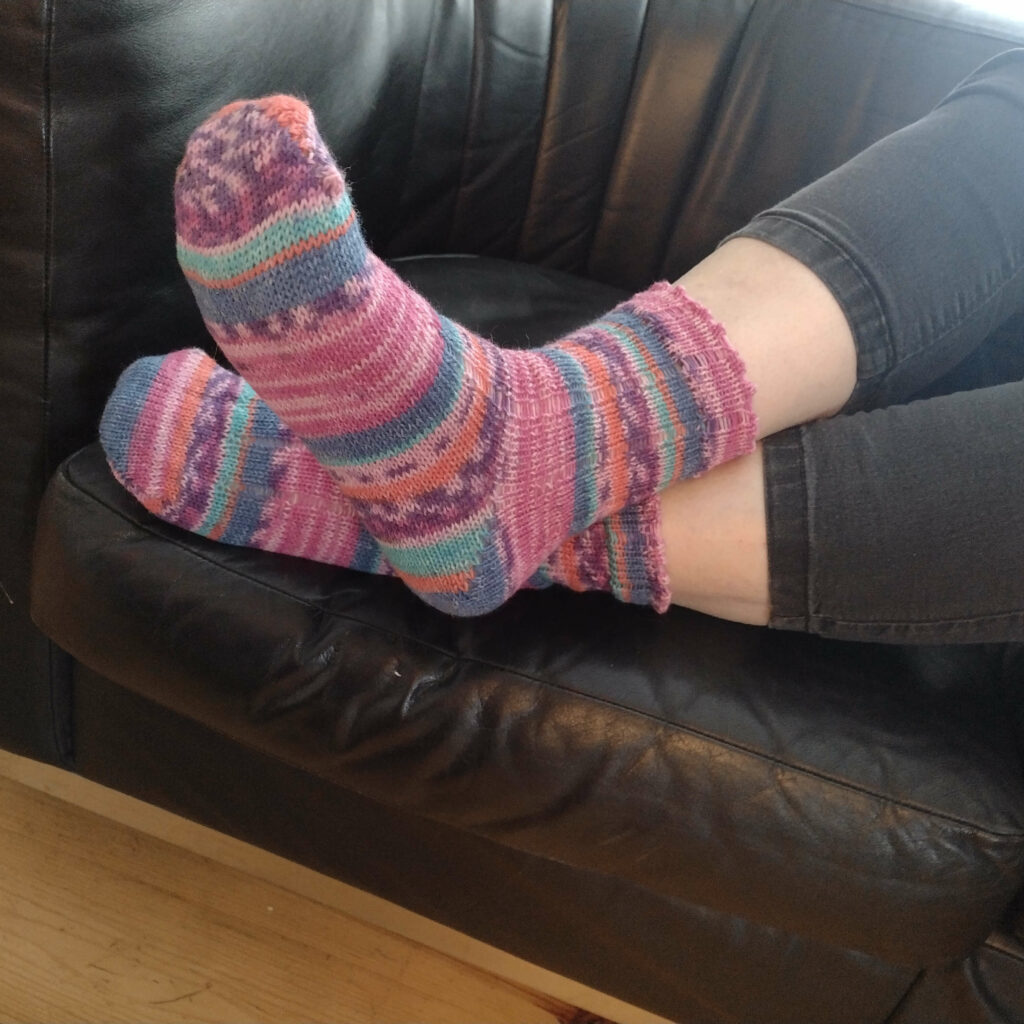
Now that the sock are off the machine, I need to close them by hand with a darning needle, and cut away all the scrap yarn that was holding it together.
I then get a brand new pair of custom wool socks made in Canada for you!
I’ll then add the band to hold the pair together, wrap them and ship them to you so you can wear them. Please note that orders in Canada are shipped flat since that allows you to saves a lot on shipping, but I make sure to include the band so you can re-wrap it if you intended to give them away.
If you’re ready to order your own handmade wool socks now, you can check the shop here.
-
 Men Wool SocksCAD$ 47.25
 -
 Women Wool SocksCAD$ 47.25
 -
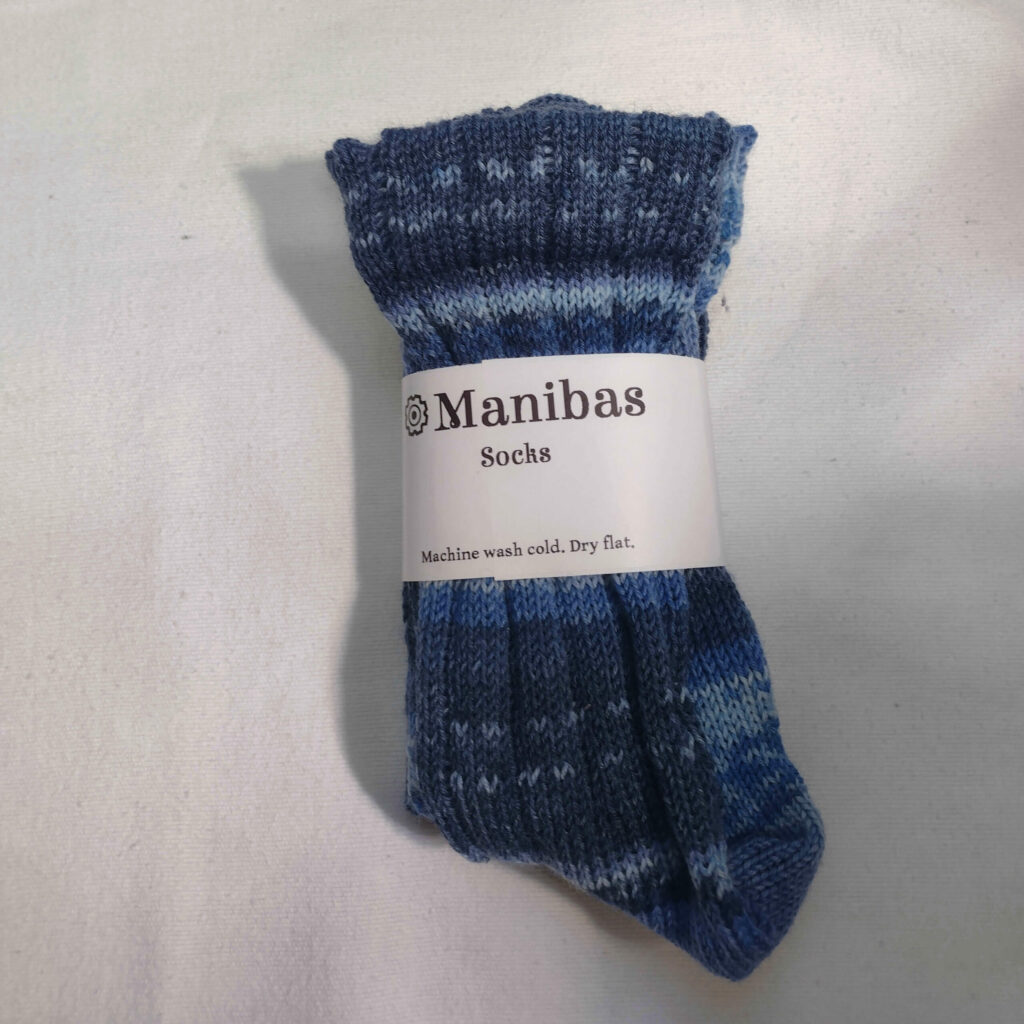 Dark/Light Blue Wool SocksCAD$ 47.25